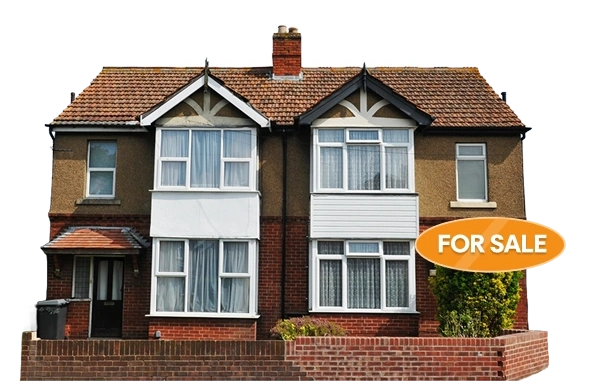
How to Photograph Your House to Sell: Smartphone Guide for UK Home Sellers
Your listing photographs are the first thing buyers see on Rightmove, and they determine whether a buyer clicks through or moves on. This complete UK smartphone guide covers every step of photographing your home to sell, from preparing each room and working with natural light to the right camera settings, room-by-room angles, editing techniques, and building a complete shot list for your listing.

Oliver H.
Oliver covers Midlands property trends and practical selling tips for homeowners. He focuses on clear, jargon-free advice that helps private sellers stay in control.
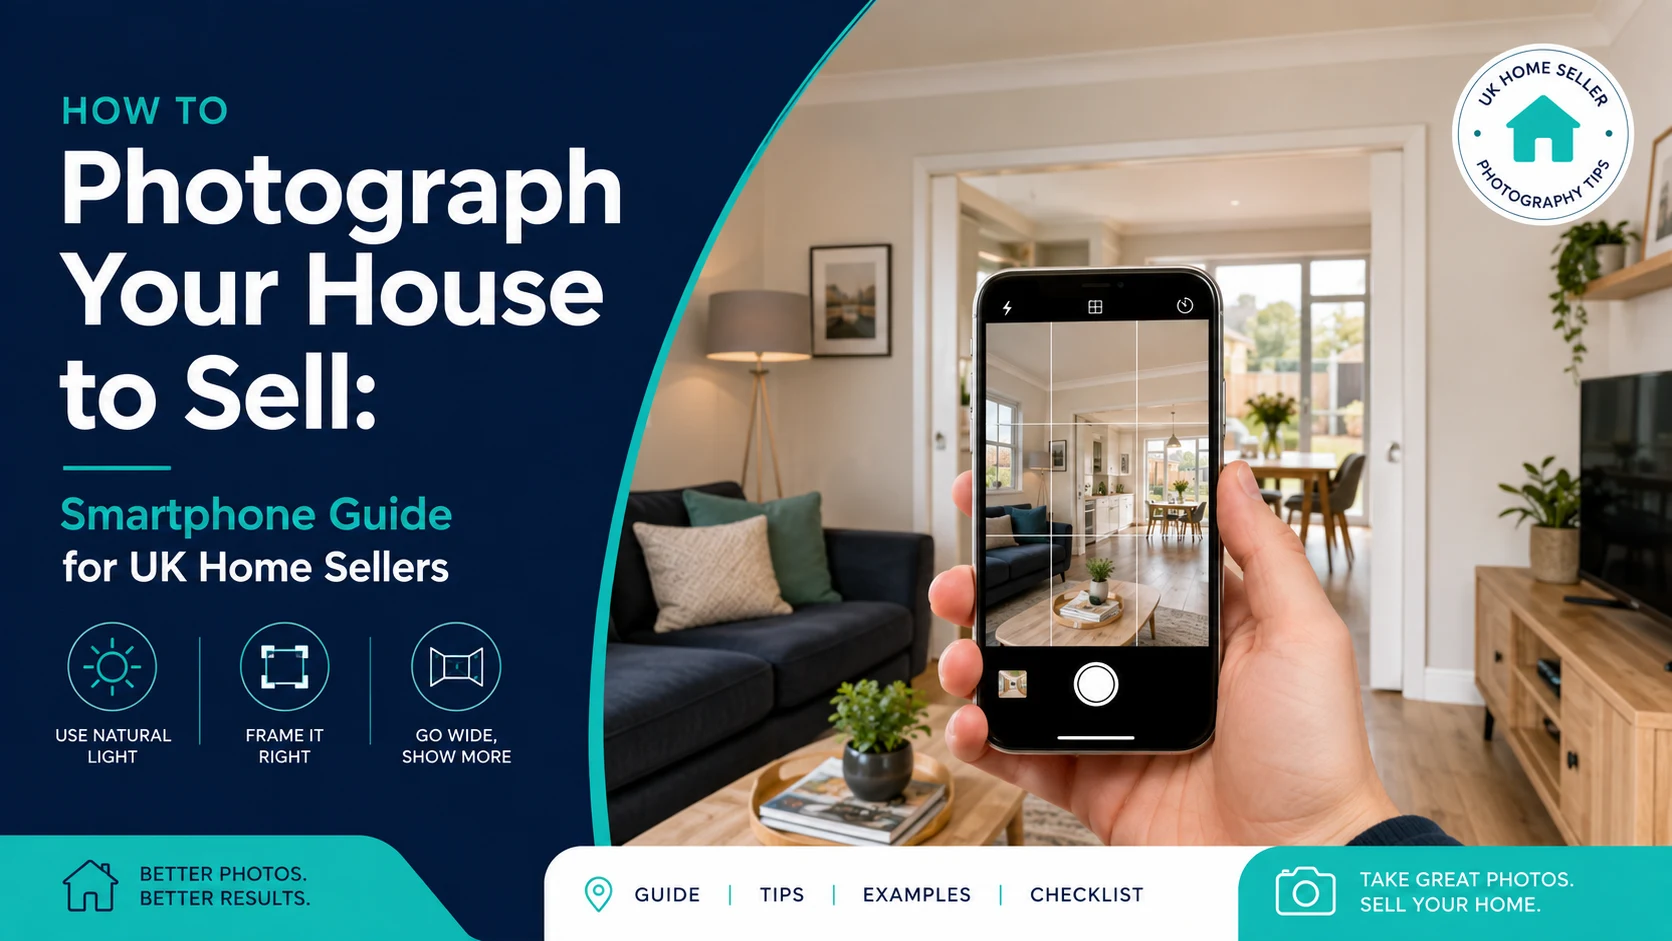
Introduction: Why Your Phone Photos Determine Whether Buyers Book a Viewing
Buyers in the UK spend the majority of their property search time on Rightmove. They scroll through listings quickly, spending just a few seconds on each one before deciding whether to look further or move on. In those seconds, your photographs are doing all the work.
Poor photographs, taken in dark rooms with cluttered surfaces and awkward angles, kill enquiries before a buyer has read a single word of your description. Strong photographs, taken with care and preparation, stop the scroll. They make buyers tap through every image, read the full listing, and book a viewing.
Here is the part most sellers do not realise: the gap between poor and professional property photographs has almost nothing to do with the camera. Today's smartphones produce photographs that are technically indistinguishable from entry-level DSLRs when used correctly. What separates a great property photograph from a forgettable one is preparation, light, angle, and timing. All of which are entirely within your control whether you are shooting on a flagship smartphone or a mid-range handset.
This guide covers everything you need to know to photograph your house to sell using a smartphone, from preparing each room to the specific camera settings, angles, and editing techniques that produce listing-quality results. Every tip applies to sellers taking their own photographs for a private sale or for a YooSell listing.
Before your photography session, use the free Valuation Calculator on YooSell to establish a realistic asking price, so your listing is both well-photographed and accurately priced from the moment it goes live.
Why Property Photography Matters More Than Most Sellers Realise
Before diving into technique, it is worth understanding why photography has such a disproportionate impact on property sales.
The Numbers Behind Property Photography
Rightmove data consistently shows that listings with high-quality photographs receive significantly more views and enquiries than those with poor or limited images. Properties with professional-grade photography, regardless of whether it was taken on a camera or a well-prepared smartphone, attract more viewings and tend to sell faster than those with low-quality images.
The first photograph in your listing, typically the exterior shot, also functions as your thumbnail image in search results. Buyers decide whether to click based on that single image before they have seen anything else about your property. A strong exterior photograph in excellent light, with the property looking its best, generates a click-through. A dark, flat, or cluttered exterior image does not.
What Buyers Are Actually Looking For
When buyers look at property photographs, they are forming an emotional as well as a practical impression. They are asking: does this feel like somewhere I could live? Does it look cared for? Does it feel spacious and light?
Strong photographs answer yes to all three. They make rooms look bright, spacious, and well-maintained. They show the property at its best without being dishonest. They give buyers enough information to feel confident booking a viewing.
Weak photographs leave buyers uncertain. They make rooms look smaller and darker than they are. They highlight clutter and personal items instead of the space itself. They fail to show the property's best features and leave buyers wondering what is being hidden.
Step One: Prepare the Property Before You Pick Up the Phone
The biggest photography mistake sellers make is picking up their phone before the property is ready. Preparation accounts for more than seventy percent of the difference between good and poor property photographs. You cannot fix a cluttered room in editing.
Declutter Every Room You Plan to Photograph
Walk through the property before your photography session and remove everything that does not add to the space. This means:
All items from kitchen worktops except one or two carefully chosen pieces
Personal photographs, ornaments, and decorative clutter from shelves and surfaces
Excess furniture that makes rooms feel cramped or blocks natural flow
Toiletries, cleaning products, and personal care items from bathroom surfaces
Shoes, bags, coats, and clutter from the hallway
Any visible storage or piles of possessions in corners and on floors
The goal is to show the room, not the things in it. Buyers need to be able to imagine their own possessions in the space. A room full of someone else's belongings makes that almost impossible.
Deep Clean Everything Before You Shoot
Clean surfaces, windows, mirrors, and floors produce noticeably better photographs than dirty or dusty ones. Pay specific attention to:
Kitchen surfaces, hob, and extractor fan
Bathroom tiles, taps, and grout
Windows and glass doors, inside and outside
Mirrors and reflective surfaces
Skirting boards and door frames
Streak-free windows let in more light and produce clearer photographs. Clean bathrooms and kitchens photograph significantly better than those with visible marks, limescale, or grime.
Style Each Room for the Camera
Styling a room for photography is different from how you live in it day to day. It means presenting each space in its most appealing state for a brief period during the shoot.
Bedrooms
Make every bed to hotel standard. Straighten cushions and pillows. Remove bedside clutter. A bedroom with a well-made bed, clean surfaces, and no visible laundry or personal items photographs as a calm, appealing space rather than a lived-in one.
Kitchens
Clear worktops entirely. Leave a single piece of fruit in a bowl, or a cafetiere and two mugs, as the only surface item. This signals the kitchen is clean and functional without looking sterile. Remove dish racks, drying dishes, pet bowls, and cleaning materials from view.
Bathrooms
Remove all toiletries, shampoo bottles, razors, and personal items from visible surfaces, shower shelves, and bath edges. Leave only fresh, matching towels. Ensure the toilet seat is closed. Replace the toilet roll with a new one if the current one is almost finished.
Living Rooms
Straighten cushions and throws. Clear coffee table surfaces. Remove remote controls, cables, charging leads, and any items that say lived-in rather than presented. A few carefully placed books or a vase can add warmth without clutter.
Hallways
The hallway is the first space a buyer physically enters when they visit. In photographs it sets the tone. Clear shoes, bags, coats, and any items from floors and hooks. If there is a mirror, clean it thoroughly.
Step Two: Understand Light and When to Shoot
Light is the single most important technical factor in property photography. No amount of editing can compensate for a photograph taken in poor light. Understanding how to work with natural light gives you a significant advantage without any additional equipment.
Shoot in Daylight Hours Only
Always photograph your property in daylight. Avoid shooting in the hour after sunrise or before sunset when light is low and directional. The best light for most properties falls between 10am and 3pm on a clear or lightly overcast day.
Overcast days are often better for interior photography than bright sunshine. Direct sunlight through windows creates harsh contrast between bright and dark areas that cameras handle poorly. Overcast light is soft and even and produces cleaner interior photographs.
Photograph Each Room at Its Best Time of Day
Different rooms receive their best light at different times depending on their orientation. A south-facing living room is brightest around midday. An east-facing kitchen is at its best in the morning. A west-facing bedroom looks warmest in the afternoon.
If time permits, walk through the property at different times of day before your shoot and note which rooms are brightest when. Then plan your shoot to photograph each room at its peak.
Maximise Natural Light in Every Room
Before photographing any room, maximise the natural light available.
Open Every Window Covering Fully
Open all curtains, blinds, and shutters completely before shooting. Even partially closed window coverings reduce the apparent brightness of a room significantly in photographs. If you have heavy drapes that block light even when open, take them down temporarily for the shoot.
Turn On All Artificial Lights
Turn on every light in the room before shooting, including overhead lights, lamps, under-cabinet lights in kitchens, and any recessed lighting. Mixing natural and artificial light adds warmth and depth to interior photographs and ensures no dark corners or shadowed areas.
Avoid Shooting Directly Into Windows
Shooting a room with a window directly in front of you causes the camera to expose for the bright exterior, which makes the room appear dark. Instead, shoot from the window side of the room towards the opposite wall, or shoot at an angle to the window. This uses the window light as a fill source rather than a blown-out backdrop.
Step Three: Smartphone Camera Settings to Use
Modern smartphones have camera capabilities that were unimaginable ten years ago. Understanding a small number of settings makes a meaningful difference to the results you achieve.
Shoot in Landscape Orientation Every Time
Property photographs must always be taken in landscape orientation. Portrait photographs are not accepted by Rightmove or most property portals for standard listing images. Rotate your phone to landscape before photographing every single shot and do not switch back.
Use the Widest Lens Available on Your Phone
Most mid-range and flagship smartphones sold since 2021 have multiple rear cameras including a standard lens and an ultra-wide lens. For interior photography, the ultra-wide lens is your best option. It captures more of the room in a single frame, makes spaces appear larger, and gives buyers a better sense of the layout and dimensions.
A Note on Ultra-Wide Distortion
Ultra-wide lenses introduce some barrel distortion, meaning straight lines at the edges of the frame appear slightly curved. This is normal and expected in property photography. Avoid using the maximum ultra-wide setting on some phones, which can produce extreme distortion. The standard ultra-wide setting, typically equivalent to a 12 to 16mm focal length on a full-frame camera, produces the most useful results for interiors.
Lock Exposure and Focus
Before taking each shot, tap on the area of the frame you want to be correctly exposed. On most smartphones this also locks the focus on that point. For interiors, tap on a mid-tone area such as a wall or floor rather than a bright window or a dark shadow, as this gives the most balanced overall exposure.
Some smartphones allow you to separately adjust exposure after tapping to focus. Use this to slightly reduce the exposure if the image looks too bright, or increase it slightly if it looks too dark.
Turn Off Flash, Always
Flash in property photography produces flat, harsh light that bleaches surfaces, creates unflattering shadows, and makes rooms look clinical and unappealing. Switch off the flash completely before starting your shoot and leave it off for every photograph. Natural and ambient light is always preferable.
Use HDR Mode for High-Contrast Situations
High Dynamic Range mode, available on most smartphones, takes multiple exposures and combines them to produce a single image with better detail in both bright and dark areas. For rooms with a window in the background, HDR mode can help reduce the blown-out appearance of the exterior while keeping the room itself well-exposed. Most smartphones activate HDR automatically in high-contrast situations, but check that it is enabled in your camera settings.
Use a Tripod or Stable Surface
Hand-held photographs in low to medium light conditions will often show motion blur if your hands are not perfectly still. A lightweight smartphone tripod, available inexpensively, eliminates this entirely and also makes it easier to achieve consistent framing across multiple shots of the same room.
If a tripod is not available, rest the phone on a stable surface, use the volume button or a Bluetooth remote to trigger the shutter rather than tapping the screen, and take multiple shots of each frame to increase the chances of getting a sharp result.
Step Four: Composition and Angles Room by Room
Where you stand and how you frame each shot determines whether a room looks spacious and appealing or cramped and unflattering. The following techniques apply to every room in the property.
Shoot from Corners and Doorways
The most effective position for almost every interior shot is from a corner of the room or from the doorway. Shooting from a corner includes three walls in the frame rather than one, which gives the viewer a far better sense of the room's size and shape.
Doorways provide a natural frame for a shot that shows the complete room from a neutral perspective. Both positions make rooms appear larger than shooting from the centre of a wall.
Shoot at Hip or Waist Height
Avoid shooting from head height. The most flattering height for interior property photography is between hip and waist level, roughly 90 to 120 centimetres from the floor. This height makes ceilings appear higher, floors appear more expansive, and rooms feel larger and more welcoming.
Shooting from eye level or above compresses vertical space and makes rooms feel lower and smaller than they are.
Keep Horizontals Level
Crooked photographs, where horizontal lines like skirting boards, window frames, and worktops appear tilted, look unprofessional and distracting. Most smartphones display a grid and a levelling guide in the camera app. Turn on the grid (usually found in camera settings) and use it to keep your shot level before pressing the shutter.
Include Three Points of Interest Where Possible
Strong interior photographs typically have a foreground, a middle ground, and a background, giving the image depth and making it feel three-dimensional rather than flat. In a living room, this might be the edge of a sofa in the foreground, a coffee table in the middle, and a fireplace or window in the background. Arranging elements this way before shooting produces a more compelling result.
Step Five: Room-by-Room Photography Guide
How to Photograph the Exterior
The exterior photograph is the most important single image in your listing. It is your thumbnail on Rightmove and the first impression buyers form before they click.
Preparation for the Exterior Shot
Move all vehicles from the driveway and the front of the property
Sweep paths, clean the front door, and clear any bins or clutter
Mow the lawn and trim hedges and borders
Clean windows from the outside
Timing and Angle for the Exterior Shot
Photograph the exterior in the morning or early afternoon on a clear or lightly overcast day. Avoid late afternoon when long shadows fall across the front of the property. Stand slightly to one side rather than directly in front, at a distance that includes the full property and a small amount of the garden or path. A slight diagonal angle makes the property look more three-dimensional and appealing than a flat-on frontal shot.
For terraced houses where a direct frontal shot is the only option, ensure the shot is level and the full width of the property is visible without cutting off any edges.
How to Photograph the Kitchen
Position and Frame
Shoot from the corner of the kitchen that shows the most of the room. If the kitchen is galley-shaped, shoot from one end looking down the full length. If there is a kitchen island, position yourself so it features in the mid-ground with cabinets and appliances visible behind.
Lighting the Kitchen
Turn on under-cabinet lights and all overhead lighting. If the kitchen has a window, position yourself at an angle to it rather than shooting directly towards it. Clean the hob, worktops, and any visible appliance surfaces to a streak-free finish before shooting.
How to Photograph Living Rooms and Reception Rooms
Shoot from the corner or doorway that shows the most of the room. Include the fireplace if there is one as a focal point in the mid-ground. Arrange cushions, straighten any rugs, and ensure the window or natural light source is to one side of the frame rather than directly ahead.
Take at least two angles of every living room: one wide shot showing the full space, and one highlighting any standout features such as a fireplace, bay window, or feature wall.
How to Photograph Bedrooms
The Master Bedroom
Shoot from the corner opposite the bed so the full bed is visible in the foreground. Turn on all bedside lamps as well as the main light. Ensure the bed is made to a high standard and there is nothing on the floor or on chairs that belongs to daily life. If the bedroom has a window, shoot at an angle to avoid blowing out the exterior.
Smaller Bedrooms
Smaller bedrooms can be challenging to photograph without making them look cramped. Shoot from the doorway using the ultra-wide lens. Remove as much furniture as possible that is not a fixed feature. The goal is to show the room is usable and has a window, not to hide its size.
How to Photograph Bathrooms
Bathrooms are small, which makes them one of the more technically challenging rooms to photograph.
Position and Settings
Shoot from the doorway using the ultra-wide lens. In a small bathroom this may mean shooting from just outside the door. Turn on all lights and ensure the room is spotlessly clean. The toilet seat must be closed. Remove all visible toiletries.
Mirrors
Bathroom mirrors are unavoidable in the shot and will reflect you and your phone. Position yourself slightly to the side so your reflection appears at the edge of the mirror rather than the centre. Alternatively, shoot at an angle that captures the bath or shower as the primary subject with the mirror in the background.
How to Photograph the Garden and Outdoor Space
The garden adds significant value to a buyer's perception of a property. Photograph it during the best time of day for light, with the lawn mowed and any visible furniture wiped clean and positioned attractively.
Wide Shot First
Take a wide shot from the back of the garden looking towards the house, or from the house looking down the full length of the garden. This gives buyers a sense of scale.
Feature Shots
Follow the wide shot with closer photographs of any features worth highlighting: a decking area, a patio, a fire pit, mature planting, or a garden office. These detail shots give buyers a sense of how the outdoor space can be used.
Step Six: Editing Your Photographs on a Smartphone
Editing is the final step that transforms good photographs into listing-quality images. You do not need paid software or advanced skills. The tools built into your smartphone's photo editor are sufficient for most adjustments.
The Core Adjustments to Make
Brightness and Exposure
If a photograph looks darker than the room felt when you were standing in it, increase the exposure or brightness slightly. Do not overexpose. A room that looks unnaturally bright loses credibility and buyers will notice the discrepancy when they visit.
Contrast
A small increase in contrast makes photographs look crisper and more defined. Increase it modestly. Over-contrasted photographs look harsh and unrealistic.
Highlights and Shadows
Reduce highlights slightly to recover detail in bright windows or blown-out areas. Increase shadows slightly to lift dark corners. Used together, these two adjustments create a more balanced image that shows detail throughout the frame.
White Balance and Warmth
A slight increase in warmth makes interiors feel more inviting. Avoid pushing the warmth setting so far that rooms look orange or artificially warm. The goal is natural and appealing, not dramatic.
Straighten
Use the crop and straighten tool to correct any slight tilt in horizontal lines. This is particularly important for exterior shots and kitchen photographs where worktops and window frames are clearly horizontal and immediately noticeable if crooked.
What Not to Do in Editing
Do Not Use Filters
Instagram-style filters are designed for social media, not property listings. They alter colours unrealistically and make photographs look over-processed. Stick to the manual adjustments described above.
Do Not Over-Edit
Buyers form expectations from your listing photographs. If your photographs show a room looking dramatically different from how it looks in person, buyers feel misled when they visit. This damages trust and can affect how they approach their offer. Edit to show the property accurately at its best, not to manufacture an impression that does not exist.
Do Not Remove Objects Digitally
Avoid using AI removal tools to digitally erase furniture, fixtures, or features from photographs. If a room has a boiler cupboard, include it. If a ceiling has an old light fitting, photograph it honestly. Buyers will see these things when they visit and a photograph that misrepresents the space is counterproductive.
Step Seven: The Shot List to Complete Before You Finish
Before you put your phone down, run through this checklist to confirm you have captured everything a strong listing needs.
Must-Have Photographs
Front exterior, taken from a slight angle, fully clear of vehicles and clutter
Rear garden or outdoor space, at least one wide shot
Kitchen, at least two angles
Living room or main reception room, at least two angles
All bedrooms, one shot each minimum, two for the main bedroom
Main bathroom and any en-suite
Hallway or entrance
Any feature worth highlighting: fireplace, bay window, bi-fold doors, home office space
Optional but Valuable Photographs
Street view or neighbourhood context if the area is a selling point
Any secondary reception room or dining area
Utility room or storage space if above average
Garden office, summerhouse, or outbuilding
View from a window if it is exceptional
Minimum Number of Photographs for a Rightmove Listing
Rightmove allows up to 99 photographs per listing. Aim for a minimum of 12 to 15 for a standard property. Listings with fewer than 8 photographs generate significantly fewer enquiries than those with a fuller set of images. More is better, provided every additional photograph adds something the previous ones did not show.
Step Eight: Uploading Your Photographs to YooSell
YooSell's platform includes AI photo enhancement tools that improve the quality of your photographs directly within your seller dashboard, without requiring separate editing software or a paid subscription.
What the YooSell AI Photo Enhancer Does
The AI photo enhancement tool applies automatic improvements to brightness, contrast, colour balance, and sharpness based on the specific characteristics of each photograph. For sellers who are confident in their composition but want a quality uplift on the technical side, this removes the need for manual editing entirely.
How to Order Your Photographs for Maximum Impact
The first photograph in your listing is the one buyers see in search results. It should always be the best exterior shot of the front of the property. The second and third photographs should be the most impressive interior spaces, typically the main reception room and the kitchen.
Order your photographs to tell a story that flows naturally through the property, from entrance to living spaces to kitchen to bedrooms to bathrooms to outdoor space. This mirrors the experience of a viewing and helps buyers feel oriented within the property before they arrive.
Listing on Rightmove Through YooSell
Once your photographs are uploaded and your listing is complete, YooSell's Enhanced and Premium plans include a direct Rightmove listing. Your photographs and listing content are submitted to Rightmove and typically go live within 24 to 48 hours.
Visit the YooSell Rightmove page for full details on how the Rightmove listing works and what is included in each plan.
Common Smartphone Photography Mistakes to Avoid
Photographing Without Preparing the Room
The most common and most costly mistake. No camera technique compensates for visible clutter, unmade beds, or dirty surfaces. Always prepare the room fully before shooting.
Shooting in Portrait Orientation
Portrait photographs cannot be used on property portals. If you forget and shoot portrait, you will need to reshoot. Set a reminder before you start: landscape, always.
Using the Zoom Function
Digital zoom on a smartphone degrades image quality. Instead of zooming in, physically move closer to your subject. The only exception is optical zoom on phones with a dedicated telephoto lens, which maintains quality.
Shooting Without Enough Light
Dark photographs look uninviting and conceal features buyers want to see. If a room does not have sufficient natural light during your shoot, wait for a better time of day or turn on every available artificial light source before shooting.
Forgetting the Exterior at the Right Time
The exterior shot is often the last one sellers think about, taken quickly in fading afternoon light after the interiors are done. Plan your shoot so the exterior is photographed at its best time, in good light, with the front of the property fully prepared.
Taking Only One Shot Per Room
Take multiple shots of each frame before moving to the next room. Review them on the spot, zoom in to check for sharpness and level horizons, and reshoot if needed. Re-entering a room you have already broken down and moved on from is time-consuming. Taking four to six shots of each frame takes ten seconds and gives you options to choose from.
Selling Your Home with YooSell
YooSell is a self-service home-selling platform for homeowners in Leicestershire and the Midlands that gives you full control of your sale from listing to completion, without paying traditional estate agent commission.
What YooSell Gives You as a Seller
YooSell provides everything you need to sell your home privately and professionally. You create your listing using AI-assisted description and photo enhancement tools, manage viewings through a built-in booking diary, communicate directly with verified buyers, and access trusted conveyancers from your seller dashboard once an offer is accepted. There is no commission taken at completion.
See how the full selling process works on the How It Works page.
Free Tools to Plan Your Sale
Cost Saving Calculator: see exactly how much you save compared to a traditional estate agent's commission
Mortgage Calculator: plan your onward purchase costs alongside your sale
Stamp Duty Calculator: calculate the buyer's SDLT liability at the April 2025 rates
Explore More YooSell Guides
Read the full YooSell property guide on preparing your home for sale for step-by-step advice on decluttering, repairs, kerb appeal, and legal preparation that complements your photography work.
Browse Verified Listings to See the Standard
Explore verified listings on YooSell to see how other sellers in Leicestershire and the Midlands are presenting their properties, which helps you benchmark the photography and presentation quality to aim for.
List on the Right Plan for Your Sale
Explore all plan options including Rightmove listing tiers on the YooSell Pricing page to find the plan that matches your sale.
Frequently Asked Questions
Read Our Blog
Tips, insights and expert advice to help you sell smarter.
Slough House Prices & Property Market Analysis 2026
Slough house prices averaged £334,000 in May 2026 according to ONS data, down modestly from £348,000 a year earlier. The market has softened in the short term, with flat prices falling 7.8% and transaction volumes down significantly. Average monthly rents, however, have risen to £1,572, strengthening the case for buying over renting. The Elizabeth Line puts Slough to Paddington in around 15 minutes, keeping buyer demand structurally strong. For buyers with a medium-term horizon, Slough remains one of the better-value commuter markets in the South East.
Nottingham House Prices 2026: What Buyers Should Know
Nottingham house prices in 2026 are holding steady, with the ONS recording an average of £192,000 in the city area as of June 2026. First-time buyers are paying around £177,000 on average, making Nottingham one of the more accessible cities in the East Midlands. Prices have risen 18.2% over the past five years, despite a brief flat period in 2025 and early 2026. Average monthly rents have reached £1,011, strengthening the financial case for buying over renting. West Bridgford commands the highest prices while areas like Sherwood and Bulwell offer strong value for budget-conscious buyers.
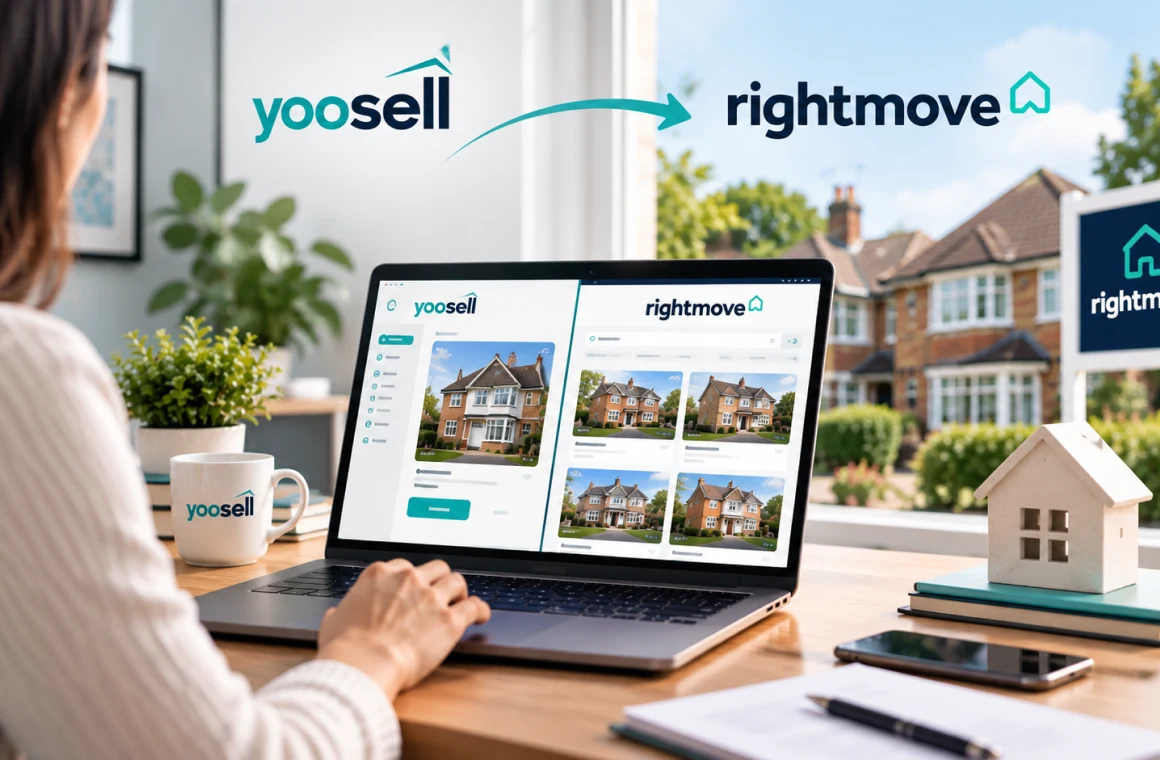
Why YooSell Is the Best Platform in the UK to List Property on Rightmove
You can list your property on Rightmove without an estate agent by using a Rightmove-registered listing platform such as YooSell. Private individuals cannot list directly on Rightmove, but portal-approved services can. YooSell includes Rightmove listing on all three plans from £29 per month, with the first month free, zero commission at completion, and ID-verified buyers as standard. Rightmove receives approximately 52.9 million monthly visits and accounts for around 70% of all time UK buyers spend on property portals, making it the most important portal for any UK seller in 2026.
Start Selling Your Home Today!
Take control of your sale with YooSell. Get started today and explore how we can help you sell smarter, faster, and with less hassle.